Let’s Get Back to This!
Well, it has been a while since I have updated this project – various reasons have had it on the shelf for a while as I’ve had more pressing priorities.
In this installment, I’ll be discussing an issue I’ve had with the case.
Background
While most of us Commodore nerds are familiar with the “bread-bin” version of the Commodore 64, as well as the later “C64C” version, many are not aware that there are several different versions of the “bread-bin” case, as per this excellent video.
The different versions are likely due to the fact the Commodore 64 was manufactured in several different locations around the world – (such as the USA, Hong Kong, Germany and the UK) – and parts were likely sourced from local suppliers to minimise cost.
The different versions also had variations in what might loosely be described as “hinges” between the top and bottom sections of the case – and some were definitely better than others.
My C64 bread-bin was “lucky” enough to have the worst type – the dreaded hooks, as per the below picture.
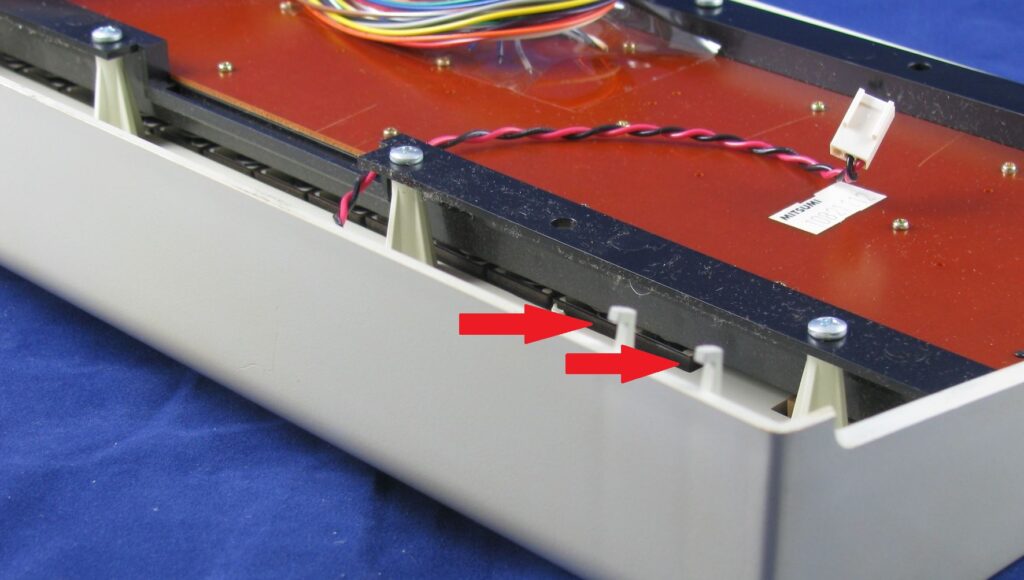
If you never pulled your C64 apart, you probably never had any issues with the hooks – but over time, the hooks get weaker and weaker, particularly if you’ve had the case open fairly regularly.
Mine was!
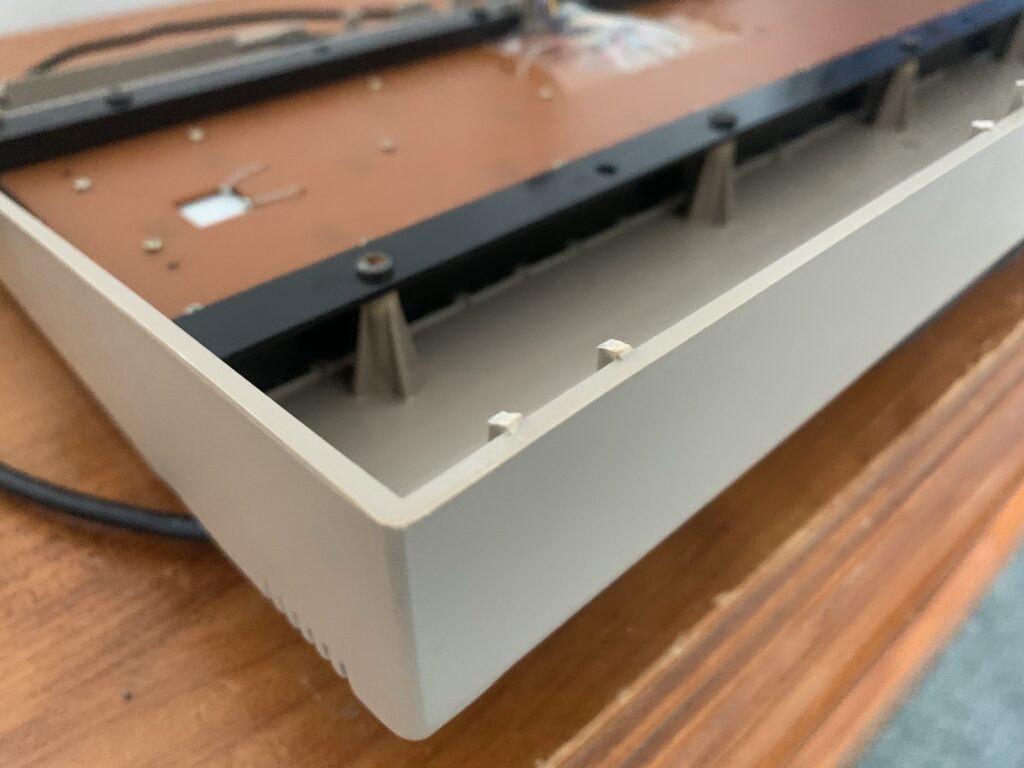
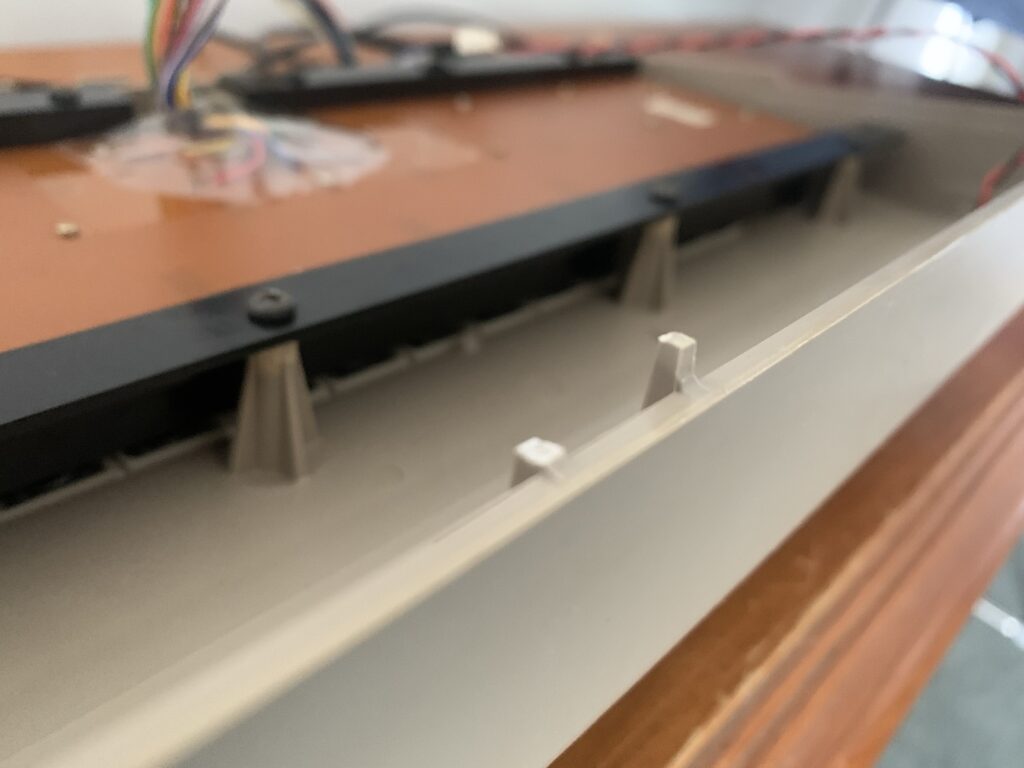
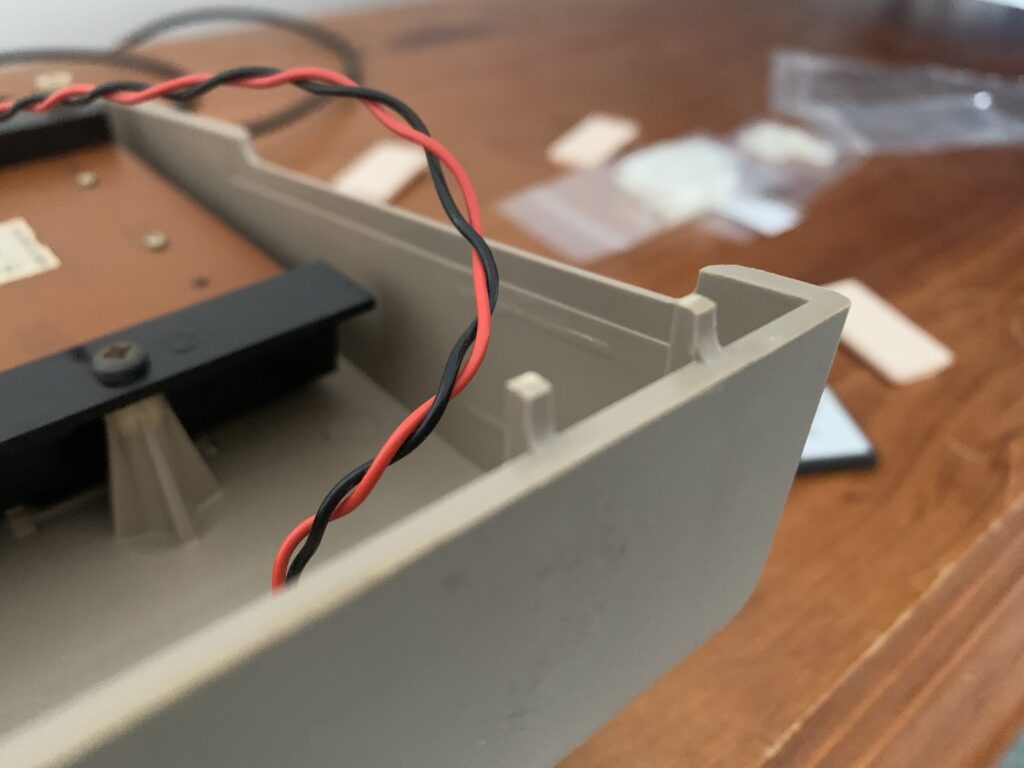
So basically, most of my hooks were broken off, as per below:
Throughout this project, these broken hooks have caused the issue of “how am I going to secure this thing back together properly at the end?”
Solution Found!
I wasn’t sure what I was going to do, until I recently came across a case repair kit from Soigeneris.
Soigeneris provide 3D printed pieces to repair not only the “hinges” on your case, but the screw holes at the front of the case as well, as these can break too.
So if your case is in this kind of condition – all is not lost! This solution has proven perfect for me, and allows my case to be securely put back together.
You just glue/epoxy the pieces in place, probably clamp them in place until the glue/epoxy dries, and your case is back together.
Just select the correct type to suit your version of the case, and order what you need – cheap, simple, and easy – and brilliant!
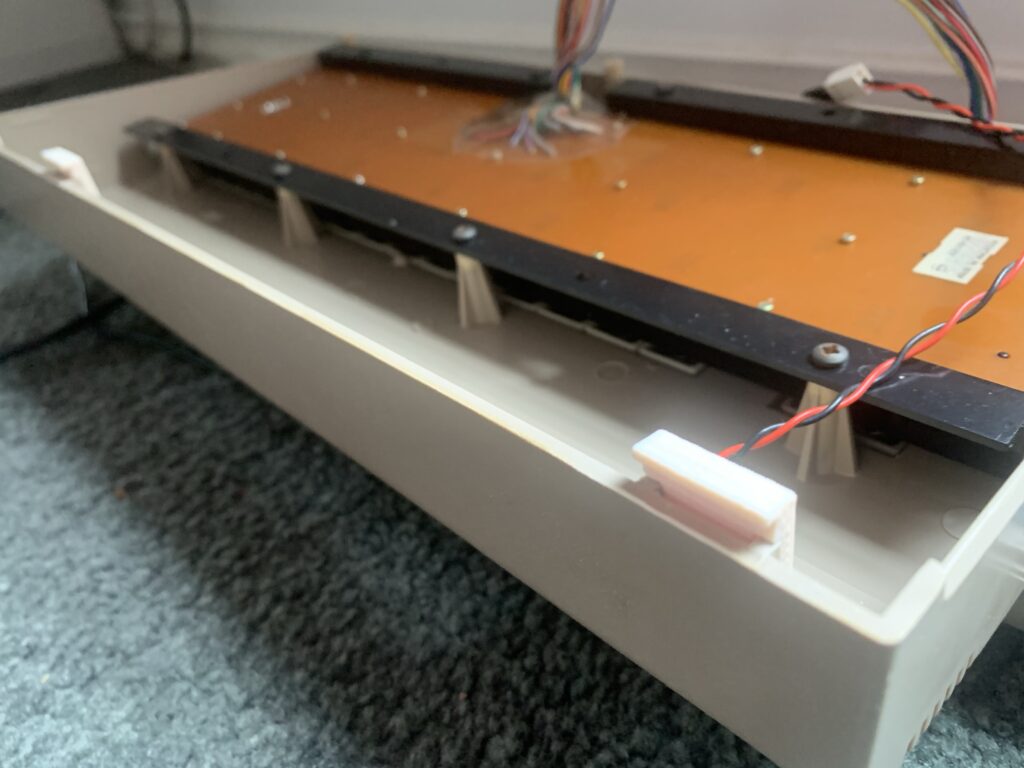
Here is my case with the “Type 2B” Soigeneris parts – (the most likely type you’ll need for a “hook” type case) – attached and ready to go:
Next Steps
Next time, we’ll finally get to the fun part – putting it all together!


