
Part 3
In this installment, I will be tearing down the existing machine in preparation for cleaning and reassembly with the new internals.
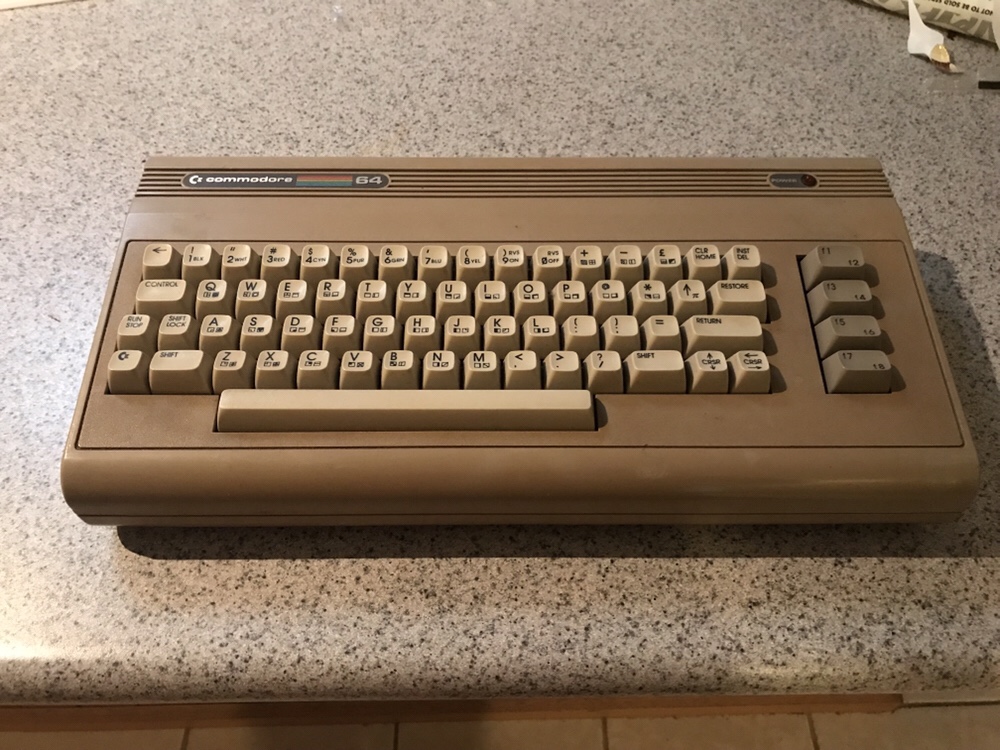
Disassembling a Commodore 64 – (regardless of version) – is a pretty straightforward exercise, and is achieved almost exclusively by undoing some screws.
Opening the Case
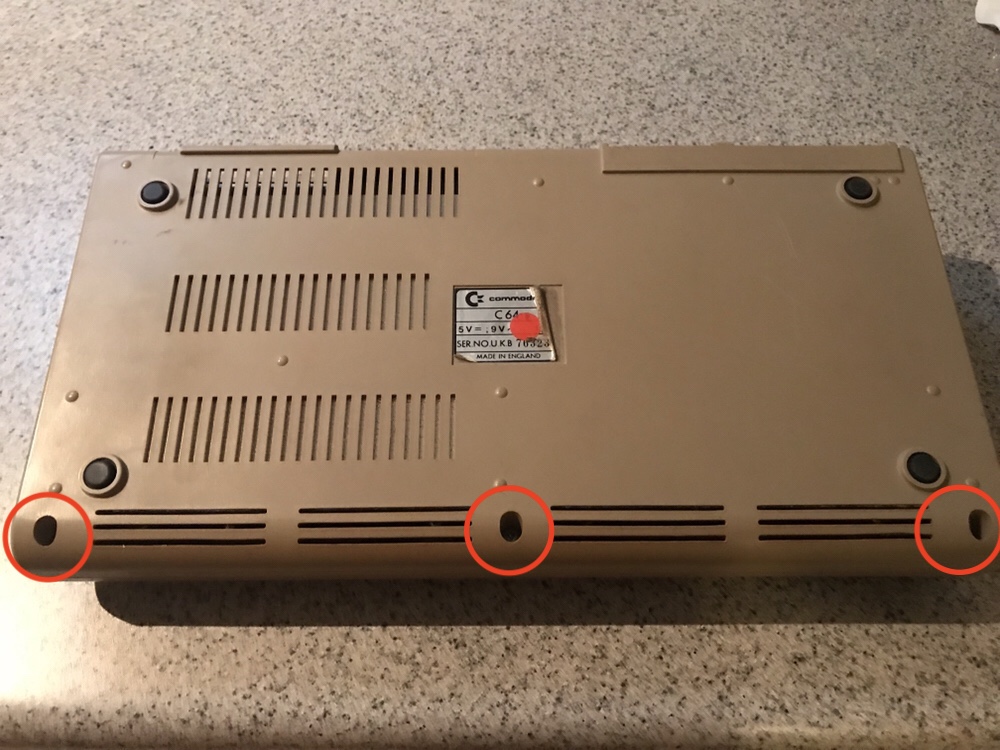
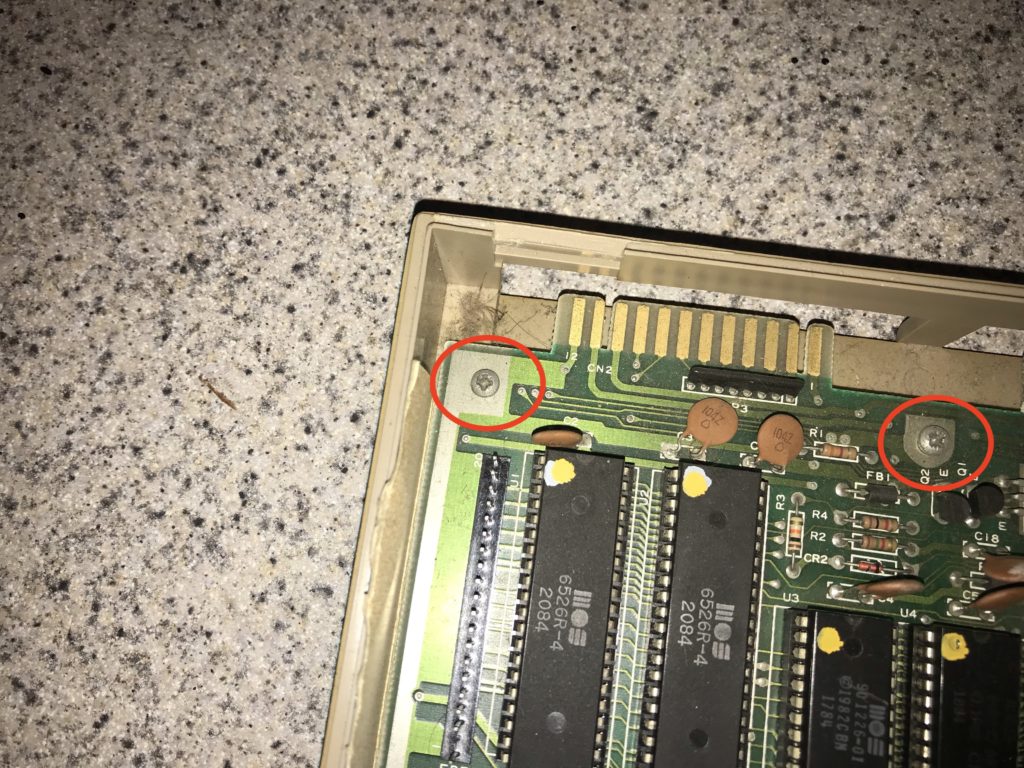
For a “Breadbin” C64, opening up the case is a simply a matter of flipping the machine over, and removing three screws. These screws are highlighted in the following image.
If you are doing this with a Commodore 64C, things are a bit different – and you can get them open without undoing any screws. Take a look at this video from about the 12:30 mark.
Once removed, set the screws aside – (and mark them as “case screws” so you can use the same ones later at reassembly) – and carefully flip the unit back over.
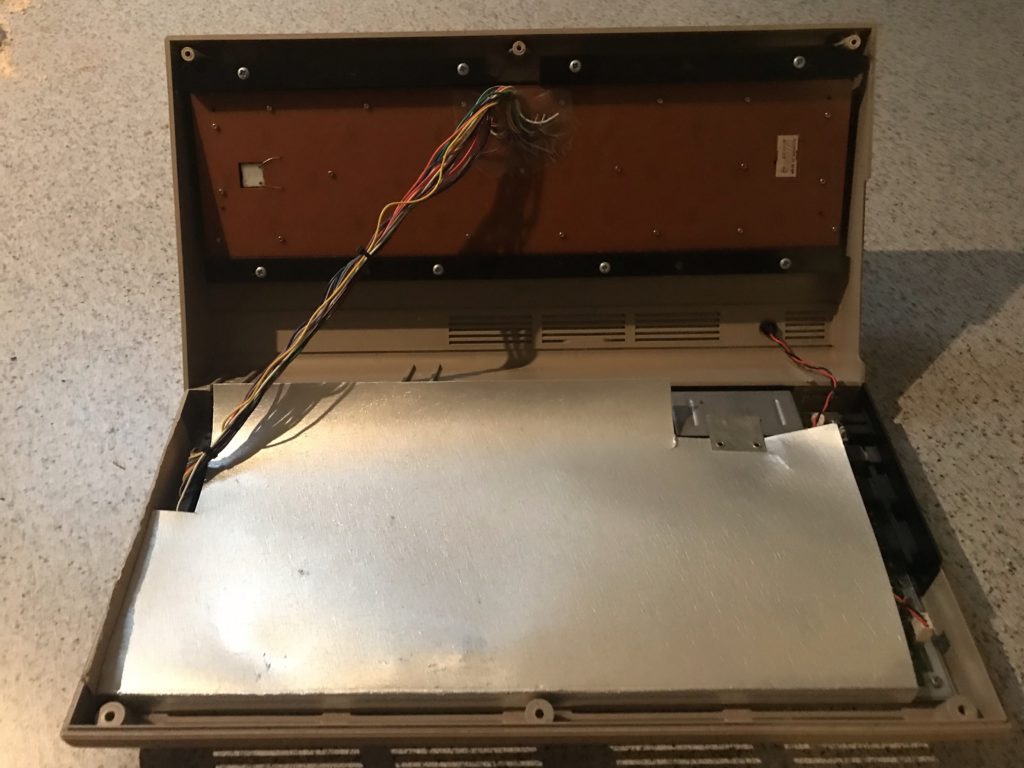
You can now lift the front of the keyboard up like the bonnet of a car. Do this gently, as there are some plastic lugs that act as the “hinge”. These can be easily broken, particularly given the likely age of the plastic.
Prepare the Motherboard for Removal
There are lots of different versions of the internals of a Commodore 64. As such, when you open yours up, it might look quite different than the picture above.
Many have a metal plate – (which acts as an RF shield and heatsink, particularly in later versions) – which needs to be unscrewed and carefully removed.
A lot of the machines sold in Australia in the mid-1980s – (like mine) – have a silver-coated cardboard liner over the top, and underneath the motherboard. As this is how mine is, I’ll proceed on the basis of that configuration.
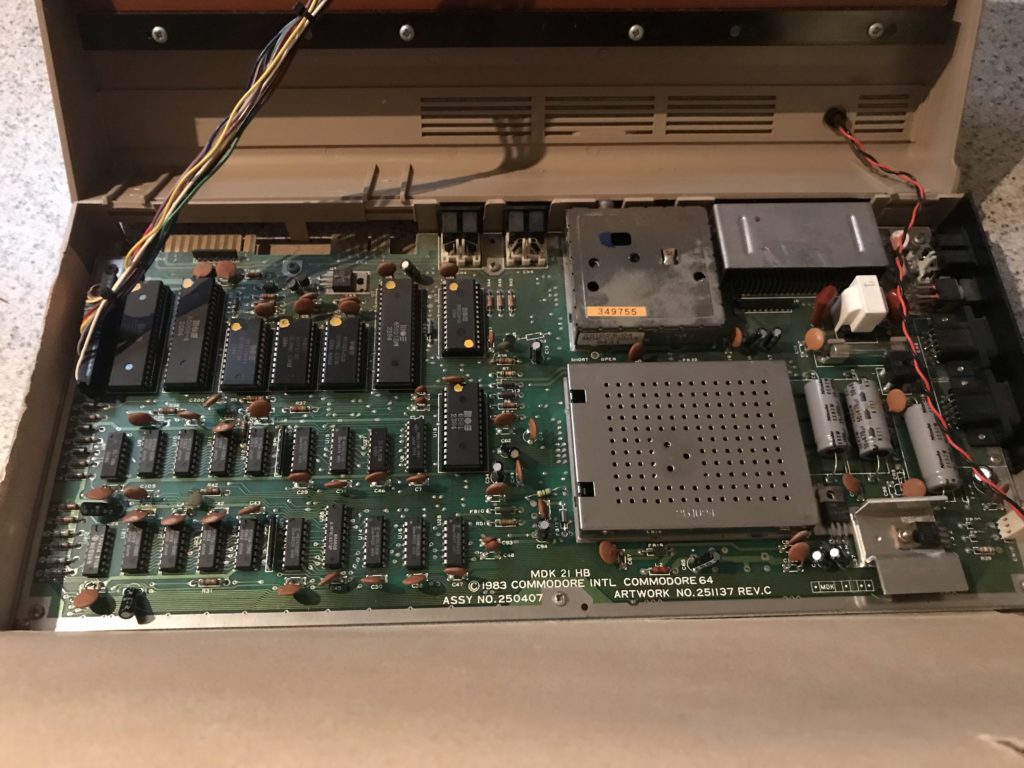
Slide the clip holding it down off the top of the cartridge slot, and lift it back towards you.

This leaves the motherboard of your Commodore 64 exposed in all its glory.
Disconnecting the Top From the Bottom
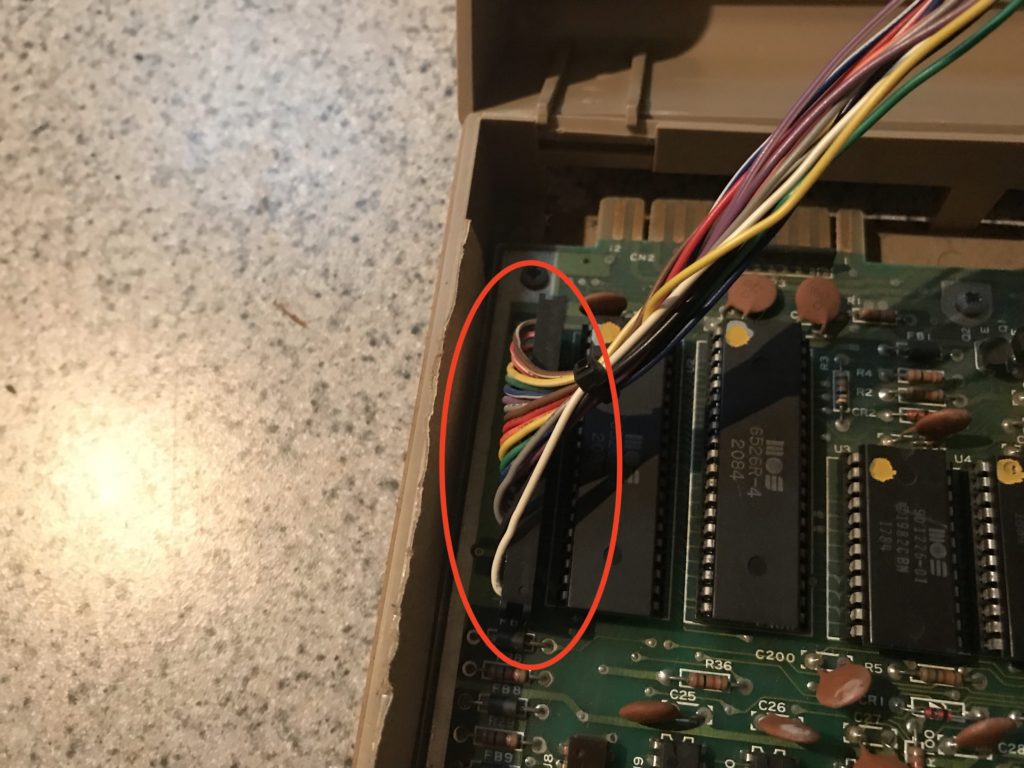
Next, carefully unplug the power LED connector from the bottom right corner of the motherboard.

Follow that with carefully disconnecting the keyboard connector – (don’t bend any pins!) – from the top left corner. Once again, these are in different locations for a Commodore 64C, but they should be obvious.
You should now be able to lift the top part of the case with keyboard attached away from bottom section. Do this and set it aside.
Physical Removal of the Motherboard
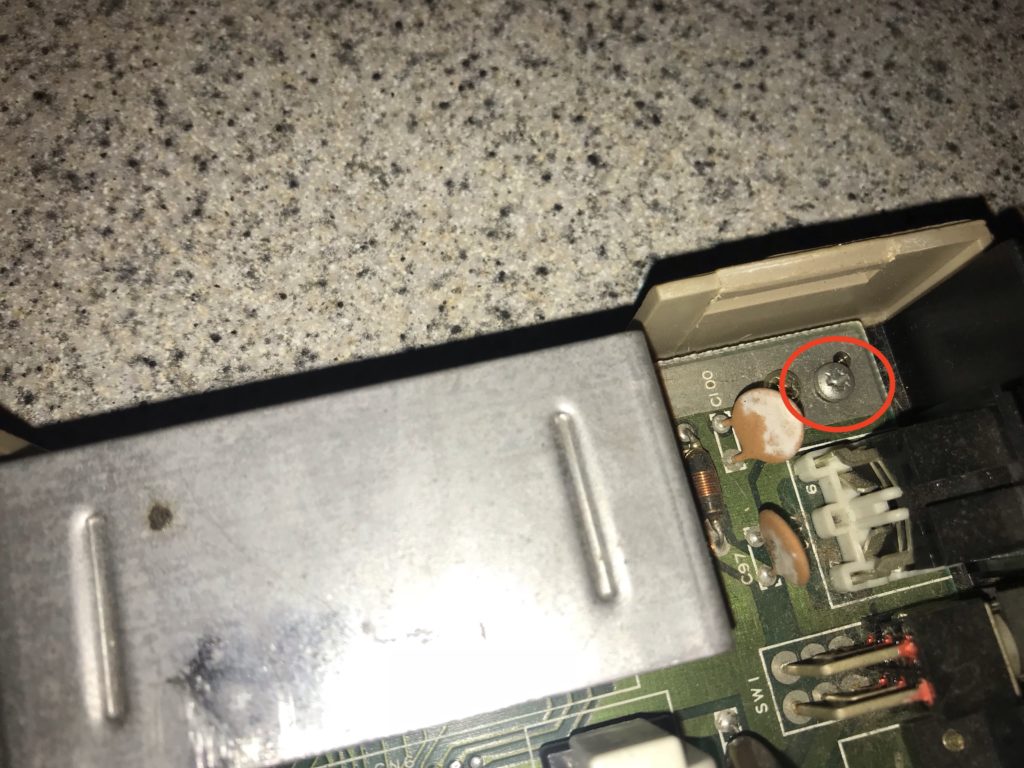
There is a series of screws around the edges of the motherboard to take out – (again, put them aside labelled as “motherboard screws”) – and once they are all removed, the motherboard can be simply lifted out of the case.
Carefully put it aside, in case you decide one day to put everything back together. Wrap it in a clean towel and find a clean, dry place to keep it. They can be worth a lot of money, even if they aren’t in 100% working condition.
Parts Already Purchased
Since the last update, I have found a reseller of the Keyrah keyboard and joystick interface, given Individual Computers remains “out of stock”, and have purchased one for the project. It is now winging its way from the UK to Australia.
- Raspberry Pi 3 Model B+ – $98.95 AUD from Logicware Australia via eBay, though I had a $20 eBay credit, so only $78.95 AUD.
- SPST Mini Rocker Switch – $1.95 AUD from Jaycar Electronics.
- Keyrah V2 – $57.85 AUD from Amiga Store.
Next Steps
In Part 4, I’ll do the actual cleanup of the case and keyboard, restoring them to their former glory for the reassembly back into a working unit.